Fix Peeling, Blistering & Delaminating Floor Coatings
Diagnose and fix failing floor coatings — peeling epoxy, blistering, delamination, and premature coating failure.
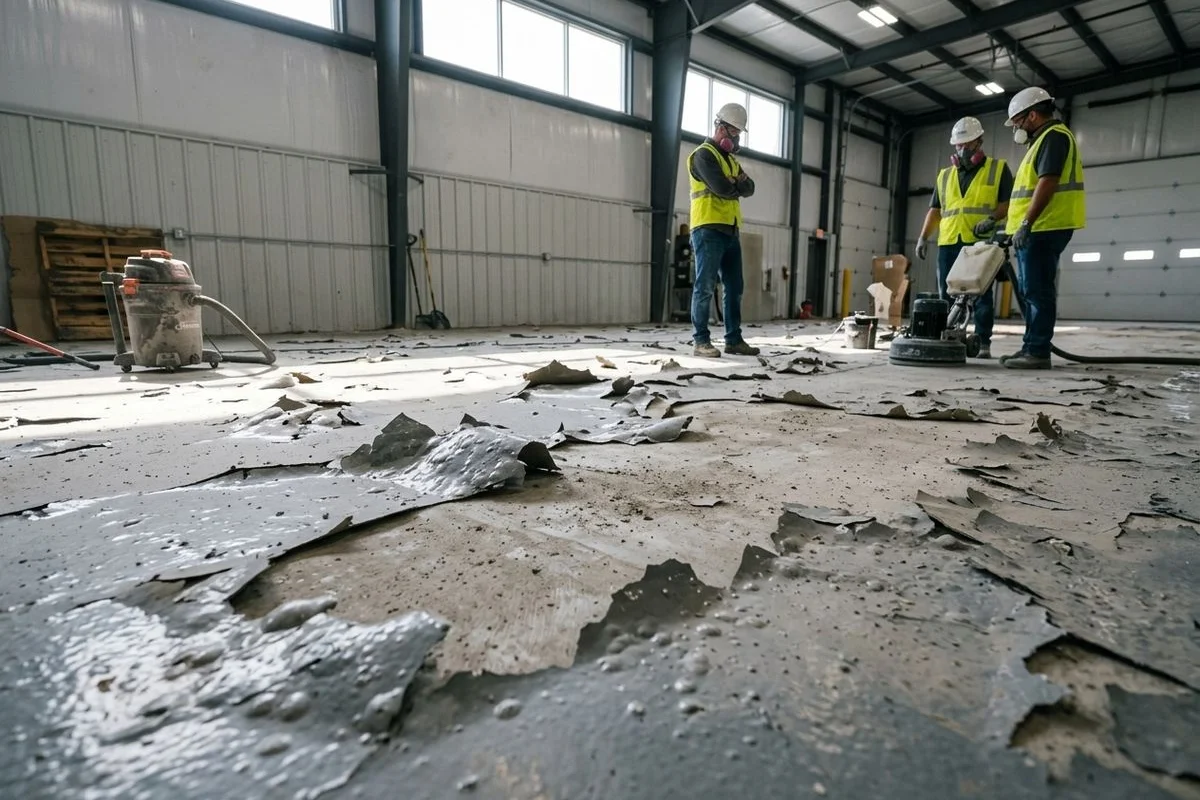
When a New Floor Fails Within Weeks, Something Went Very Wrong
A properly specified and installed epoxy floor coating should last years — often decades — before requiring any remediation. When an epoxy floor starts peeling within months, blistering within weeks, or delaminating in sheets within days of application, it is not bad luck. It is a preventable failure caused by a specific, identifiable mistake in specification, surface preparation, or application.
Epoxy Flooring Pro specializes in turning those failures around. We have investigated and corrected hundreds of failed floor coating installations across Michigan, and the pattern is consistent: the failure was avoidable, the cause is diagnosable, and the fix requires addressing the root cause — not just applying more coating over the problem.
The Four Most Common Causes of Floor Coating Failure
Understanding why floors fail is the prerequisite to fixing them correctly. In our investigations across Michigan facilities, four failure modes account for the majority of premature coating failures:
1. Inadequate Surface Preparation
Surface preparation is the foundation of every coating installation. Inadequate preparation — whether from using the wrong method, insufficient equipment, or skipping steps to save time — produces a concrete surface that cannot sustain the adhesion values required for long-term performance.
The most common preparation failures include:
Insufficient surface profile (CSP): Every coating manufacturer specifies a required concrete surface profile. Shot blasting achieves CSP 3–5. Diamond grinding achieves CSP 2–3. Simple acid etching achieves at best CSP 1–2. Using acid etching for a system that requires shot blasting produces adhesion values far below specification — and eventual delamination is the result.
Surface contamination: Oil, grease, curing compounds, sealers, and even microscopic concrete dust can prevent proper adhesion. Floors with chemical damage require particularly thorough decontamination. Contaminated surfaces look clean and test as clean visually but fail chemically.
Inadequate crack repair: Cracks that are surface-filled rather than properly routed and sealed transmit movement to the coating layer, creating stress concentrations that initiate delamination.
2. Moisture Vapor Emission
Moisture vapor is the single most common cause of coating delamination in Michigan — and the most frequently missed problem in pre-installation inspection. Concrete is not a moisture barrier. It transmits water vapor from the ground below and from within the slab itself, driven by concentration gradients, temperature differences, and hydrostatic pressure.
When moisture vapor pressure at the concrete surface exceeds the adhesive strength of the coating bond, the coating delaminates. This typically begins as small circular blisters — often appearing within weeks of installation — that expand, connect, and eventually produce sheets of delaminating coating.
ASTM F1869 (calcium chloride test) and ASTM F2170 (in-situ relative humidity probe) are the standard test methods for measuring moisture vapor emission rate. Both have manufacturer-specified threshold limits that must not be exceeded before coating application. We test for both on every project.
3. Application Outside Product Parameters
Two-component epoxy systems have defined working conditions: minimum and maximum application temperature, maximum relative humidity, minimum dew point differential, and open time limits. Application outside these parameters — particularly in cold Michigan winters or humid summer conditions — produces partially cured, under-crosslinked coating layers with adhesion values far below specification.
The failure often appears weeks later as the coating continues to slowly cure in place, changing dimension and stressing adhesion bonds that were already marginal at application.
4. Product Incompatibility and Recoat Window Violations
Coating systems are formulated as stacks — primer, intermediate coat, topcoat — where each layer is chemically compatible with the layer above and below. Mixing products from different manufacturers, applying a recoat after the specified recoat window has closed, or applying a new system over an existing coating that was not properly prepared creates adhesion failures that are often invisible at application but appear within weeks as the system ages.
Our Remediation Process: Fix the Problem, Not the Symptom
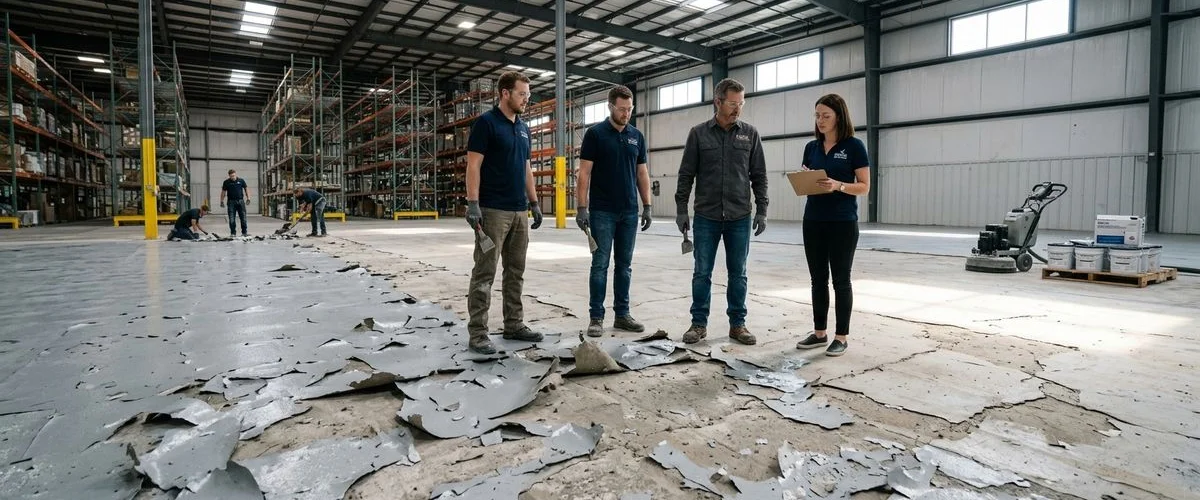
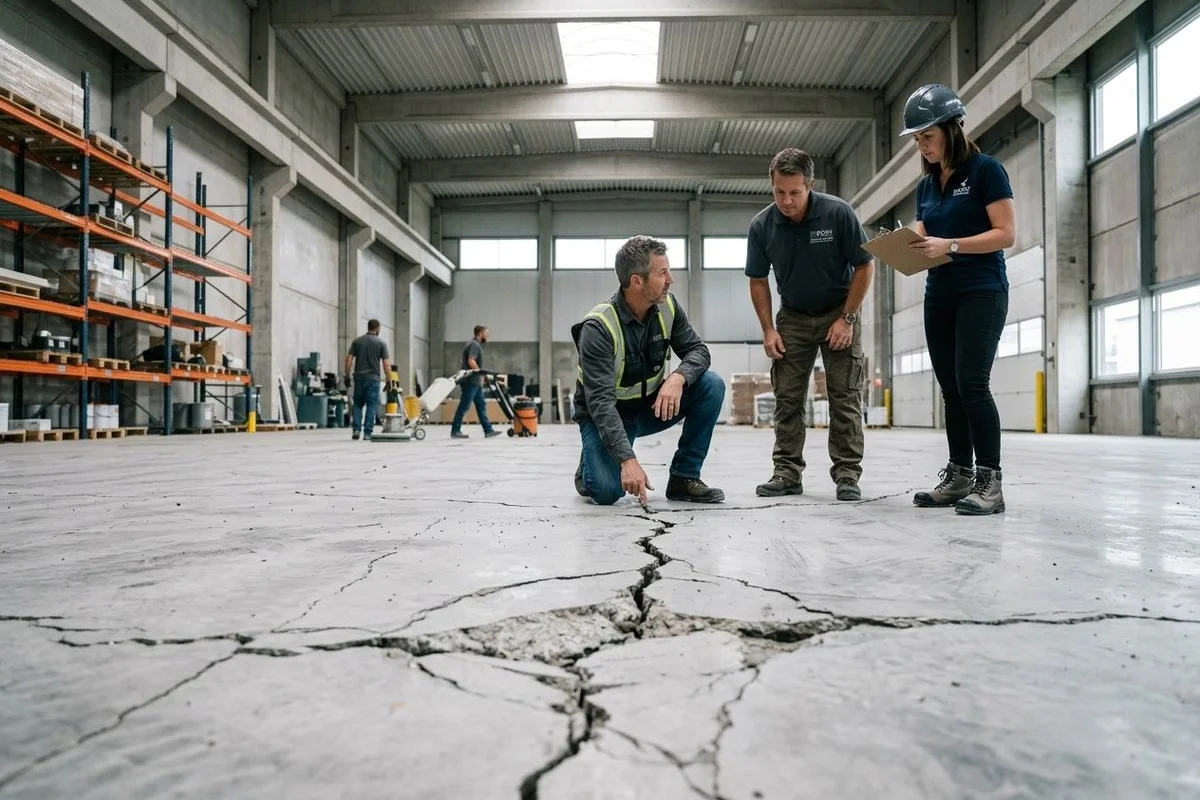
Step One: Investigation Before Action
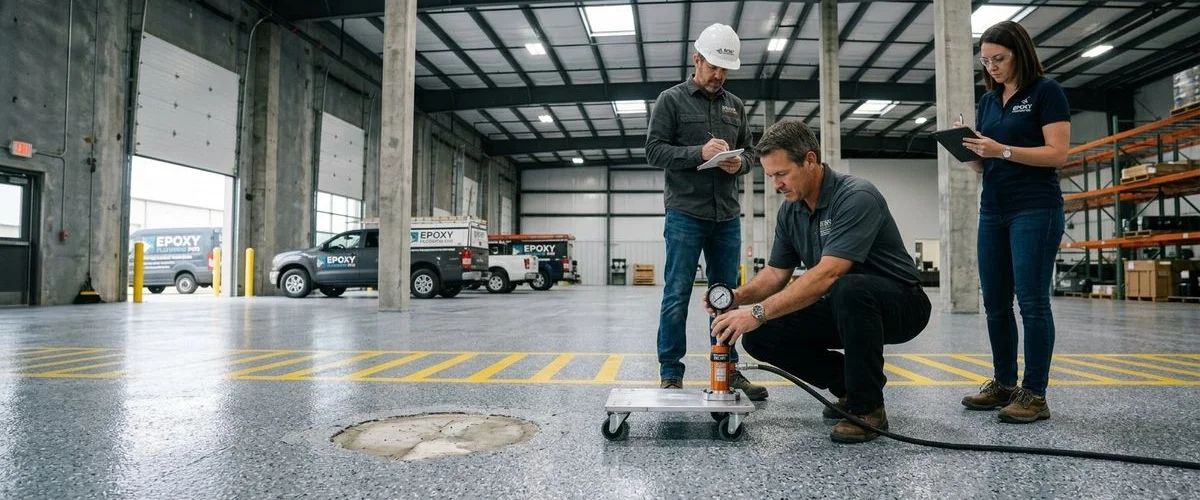
We do not arrive at a failed floor and immediately begin applying materials. Investigation comes first. Our assessment includes adhesion pull testing to measure what bond strength remains, ASTM F1869 and ASTM F2170 moisture vapor tests, pH testing, and a thorough review of installation records if available.
The investigation findings are documented in a written failure report that identifies the specific failure mode, the evidence supporting that conclusion, and the recommended remediation approach.
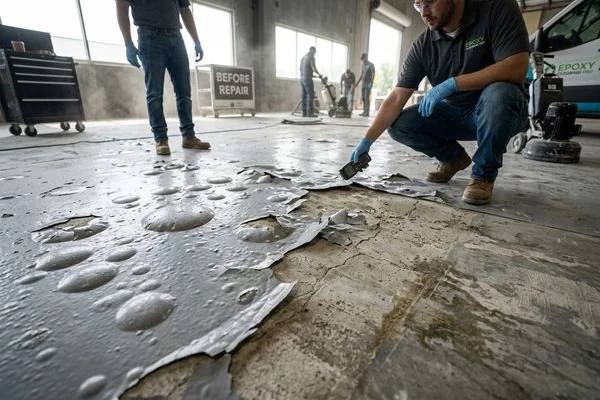
Step Two: Complete Removal of Failed Material
Every square foot of failed coating material is removed before any new material is applied. Shot blasting removes coating down to bare concrete in a single pass on most applications. Diamond grinding removes stubborn adhesive residues and corrects surface profile. The concrete surface is then inspected, tested, and cleared before remediation begins.
Step Three: Substrate Correction
Correcting the concrete substrate is often the most important part of remediation. If moisture vapor was the failure mode, a moisture vapor mitigation system is installed before the new coating. If CSP was inadequate, shot blasting corrects the profile. If contamination was present, chemical cleaning and testing confirm its removal.
Step Four: Warranted Replacement System
The replacement system is specified for the corrected substrate conditions — not the same system that failed, but a system engineered for the actual conditions of your specific concrete slab. Every replacement installation we perform is documented and warranted.
If your floor coating failed prematurely — regardless of who installed it — contact Epoxy Flooring Pro. We will tell you exactly what went wrong and fix it correctly.
What's Included
Our Failing Floor Coatings Installation Process
Failure Investigation
We inspect the failed floor, review available installation records, and perform adhesion pull tests, moisture tests, and pH tests on the substrate to identify the failure mode.
Root-Cause Documentation
We document findings in a written failure report that identifies the specific cause — inadequate surface preparation, moisture vapor, contamination, product incompatibility, or application error.
Failed Coating Removal
All failed coating material is removed by shot blasting, diamond grinding, or mechanical scraping, depending on the failure type and extent. No remediation is applied over failed material.
Substrate Correction
The underlying concrete problem is addressed: CSP is corrected to the required profile, moisture vapor mitigation is installed where needed, cracks and joints are repaired, and contamination is eliminated.
Warranted System Installation
A new coating system appropriate for the corrected substrate is installed with verified surface prep, moisture testing, application conditions, and mil thickness documentation.
Project Documentation
Complete project documentation is provided: surface prep verification, moisture test results, product data sheets, application records, and warranty documentation.
Why Choose Epoxy Flooring Pro
We Find the Real Problem
A new coat of epoxy over a failed surface will fail again for the same reason. We do not begin remediation until we understand why the floor failed. Our root-cause approach ensures the replacement system addresses the actual problem.
Moisture Vapor Expertise
Moisture vapor is the most common cause of coating delamination and the most commonly missed failure mode. We perform ASTM F1869 and ASTM F2170 testing and specify vapor mitigation systems when readings exceed manufacturer limits.
Failure Reports for Warranty Claims
If your floor was installed by another contractor and failed prematurely, our written failure analysis documents what went wrong and why. This report supports warranty claims and legal proceedings if necessary.
We Warrant Our Remediation Work
Every replacement system we install is warranted. We back our work because we correct the underlying problem before we apply new material.
Before & After
Before
After
What Our Clients Say
"Our epoxy floor delaminated six weeks after installation by another contractor. Epoxy Flooring Pro came in, identified the moisture vapor problem that the original contractor missed, installed a vapor mitigation system, and applied a new coating. It has been two years with zero issues."
"The floor in our production area was blistering and peeling after just three months. Epoxy Flooring Pro did a full investigation, gave us a written report, and fixed it properly. We used their report to recover costs from the original contractor."
Frequently Asked Questions
Why does epoxy floor coating peel or delaminate?
Can you apply a new coating over a partially failed floor?
What is moisture vapor emission and why does it cause coating failure?
What is CSP and why does it matter?
How long does a failure investigation take?
Can I use your failure report to make a warranty claim against the original contractor?
Get a Free Estimate for Failing Floor Coatings
Our project managers are ready to assess your facility and recommend the optimal failing floor coatings solution.