Industrial Concrete Crack Repair & Joint Sealing
Structural concrete restoration, crack bridging, control joint sealing, and substrate preparation to ensure your floor coating system performs for decades.
Why Concrete Repair Is the Most Important Part of Any Floor Coating Project
Every industrial floor coating project lives or dies by the condition of the substrate beneath it. The highest-quality epoxy or urethane system in the world will fail prematurely if it is applied over cracked, spalled, contaminated, or improperly prepared concrete. Yet in competitive bidding environments, substrate repair is frequently the first item contractors reduce or eliminate to lower their price.
At Epoxy Flooring Pro, we take the opposite position: thorough, correctly executed concrete repair is non-negotiable. It is the foundation — literally — of every coating system we install. We have walked away from projects where clients insisted on skipping repair steps, because we refuse to attach our name to work we know will fail.
This section explains what proper concrete repair involves and why each step matters for the long-term performance of your floor.
Understanding Crack Types and Why It Matters
Industrial floor cracks are not all the same, and treating them the same way is a critical error made by inexperienced contractors. The two fundamental crack categories are:
Dormant Structural Cracks
Dormant structural cracks occurred at some point in the past due to overloading, inadequate reinforcement, poor base preparation, or excessive drying shrinkage — but are no longer actively moving. These cracks represent a loss of tensile continuity in the slab that, if left unrepaired, can propagate under operational loading, cause differential movement at coating edges, and create stress risers that promote new cracking.
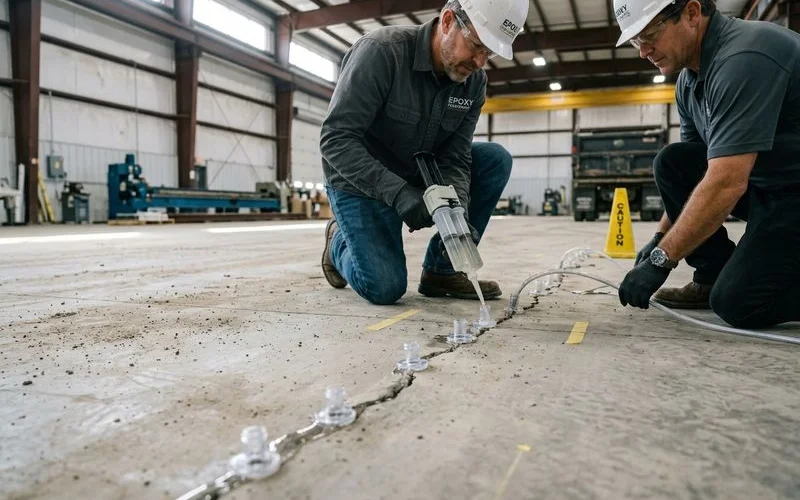
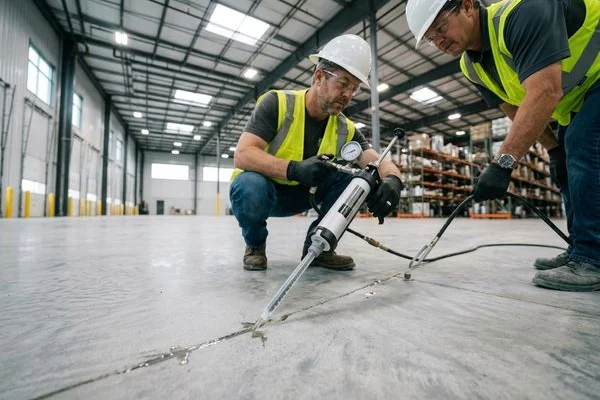
The correct repair for dormant structural cracks is low-viscosity epoxy injection under pressure. When properly executed, epoxy injection restores tensile and shear strength across the crack plane, effectively fusing the two sides of the crack back together. Post-injection pull tests confirm adequate bond development. This repair step is critical before applying any polished concrete or coating system.
Active Cracks
Active cracks are those still exhibiting cyclic movement — typically from thermal expansion and contraction of the slab, differential settlement between slab sections, or ongoing dynamic loading. Injecting an active crack with rigid epoxy is counterproductive: the rigid epoxy transfers the stress to the crack boundaries, which then re-crack adjacent to the repair.
Active cracks require semi-rigid polyurea — a material with controlled elasticity that accommodates the cyclic movement while maintaining a sealed joint that coatings can bridge. The polyurea is installed at a precisely controlled depth-to-width ratio with appropriate backer rod to ensure the material functions in tension rather than shear.
Control Joint Failure: The Most Common Source of Coating Problems
Walk through any industrial facility with a failed floor coating and you will almost certainly find the failures concentrated at or near control joints. This is not a coincidence. Control joints are engineered movement points in the concrete slab — they are intended to crack in a controlled location rather than randomly. As a result, they experience more movement than any other part of the floor, and any coating or joint filler material installed at a control joint must accommodate that movement.
Why Old Mastic Must Be Completely Removed
Legacy control joint mastic — the semi-rigid joint filler common in older industrial slabs — deteriorates over time. The plasticizers migrate out, the mastic stiffens and shrinks, adhesion to the concrete joint walls is lost, and the joint opens. When contractors attempt to install new filler over old mastic without complete removal, the new material bonds to the old mastic rather than to the concrete walls. When the old mastic eventually fails, it takes the new filler and the coating with it.
Our process: complete removal of all existing joint filler material using a router equipped with diamond blades, followed by vacuuming and compressed air blow-out of all debris before any new material is installed.
Backer Rod and Correct Aspect Ratio
Control joint fillers must be installed with a correctly sized closed-cell foam backer rod to:
- Control the filler depth-to-width ratio (target 1:1 for polyurea fillers)
- Prevent the filler from bonding to the bottom of the joint (three-sided adhesion causes premature failure)
- Provide a backing surface that allows the filler to stretch in tension as the joint opens
This is a detail most contractors either skip entirely or get wrong. We train our crews specifically on backer rod sizing and installation because it directly determines how many cycles of thermal movement the joint filler will survive before re-cracking.
Spall Repair: More Than Just Filling Holes
Surface spalls — the pop-outs and delamination of surface concrete that expose rough aggregate — require more than filling with mortar and grinding smooth. Correctly repaired spalls must:
- Match the surrounding concrete’s surface profile so the repair does not create a high or low spot that telegraphs through the coating
- Achieve compressive strength equal to or greater than the parent concrete so the repair does not become the weak link under loading
- Bond adequately to the prepared substrate without creating a stress concentration at the repair perimeter
- Be free of shrinkage cracking — a problem with high-cement-content mortars that shrink excessively during cure
We select repair mortars matched to the specific situation: fast-set cementitious mortars for minor surface spalls, epoxy mortars for high-stress locations or areas requiring rapid return to service, and micro-topping systems for large-area surface deterioration that is not cost-effective to repair individually.
Moisture Vapor: The Invisible Threat to Coating Adhesion
Moisture vapor emission from concrete slabs is the most frequently overlooked and most destructive condition for floor coatings. Concrete is not waterproof — it is permeable, and water vapor driven by humidity gradients and hydrostatic pressure continuously migrates through concrete slabs. When a vapor-impermeable coating traps this moisture vapor, osmotic blistering and delamination are inevitable.
We perform ASTM F1869 calcium chloride testing and ASTM F2170 in-situ relative humidity testing on all projects before specifying coating systems. When moisture vapor emission rates exceed the threshold for standard coatings (typically 3 lbs/1,000 SF/24hr), we specify:
- Moisture-tolerant epoxy primers that maintain adhesion at higher moisture levels
- Vapor barrier primer systems that physically block vapor transmission
- Cementitious vapor barrier membranes for extreme cases with hydrostatic pressure
Ignoring moisture vapor is how contractors create short-term profits and long-term customer problems. We would rather specify the correct system upfront than receive a callback for chemical damaged floors or delamination six months later.
Integrating Repair with the Coating Specification
Because we perform both repair and coating installation, our repair specifications are always made with the full coating system in mind. This integration matters:
- Repair mortar hardness must be compatible with the surface preparation equipment and protocol used for the coating
- Joint filler hardness must match the coating system’s flexibility requirements
- Repair material surface texture must match the surrounding concrete profile for uniform coating adhesion
When repair and coating are done by different contractors — a common arrangement on competitive-bid projects — the repair contractor optimizes for their scope without regard to how their choices affect the coating. The result is frequently a system that fails not because either contractor did poor work, but because their materials were incompatible.
Contact our estimating team to schedule a comprehensive substrate assessment and receive a fully integrated repair-and-coating specification for your facility.
What's Included
Our Joint & Crack Repair Installation Process
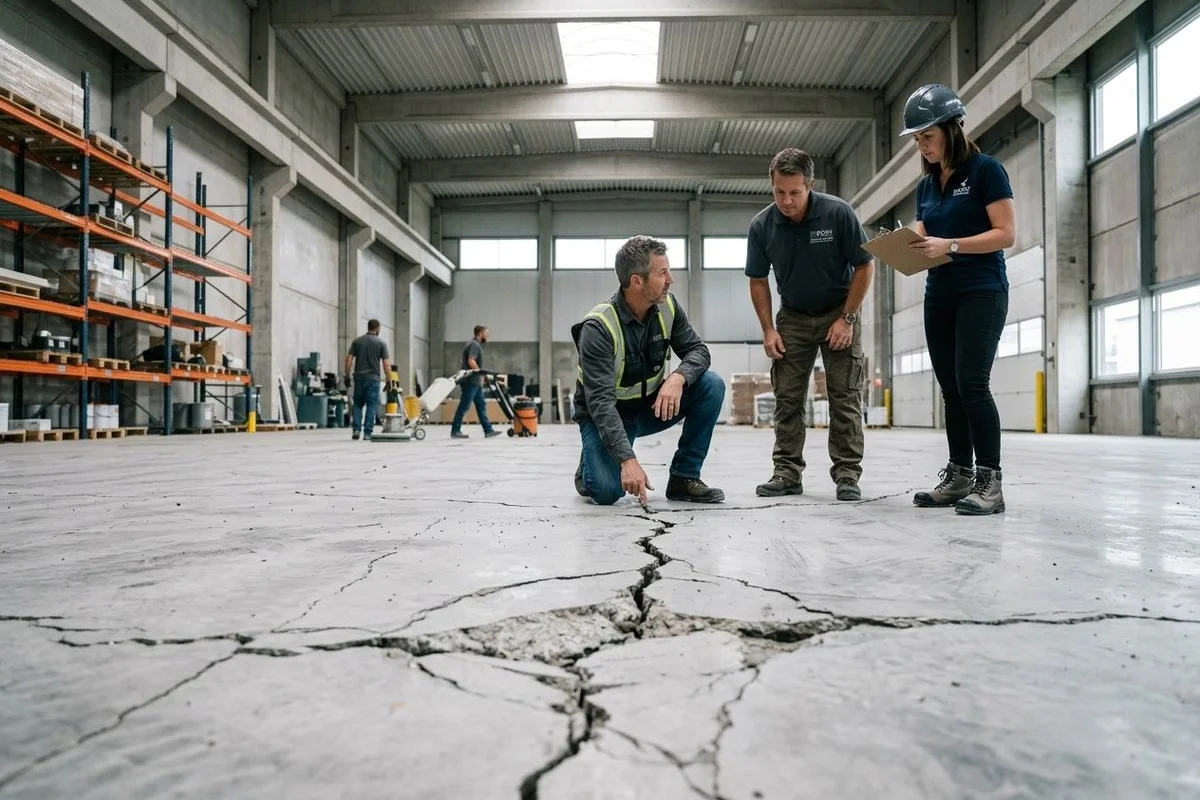
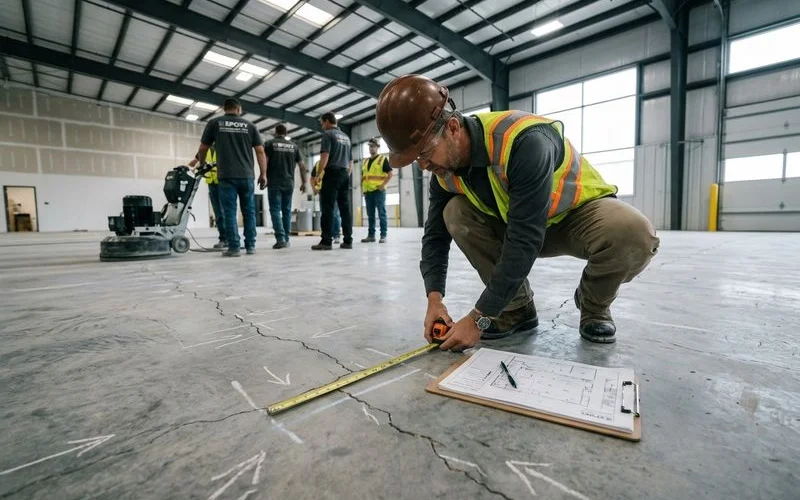
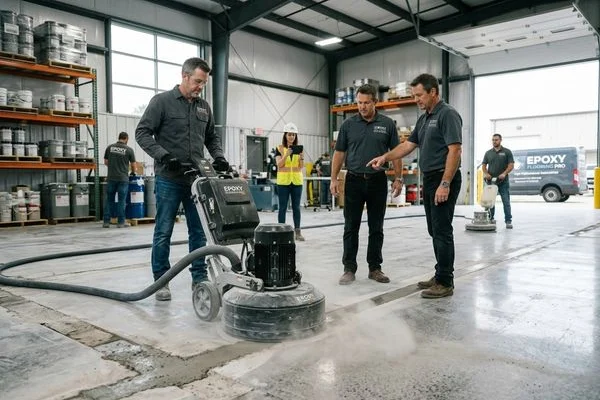
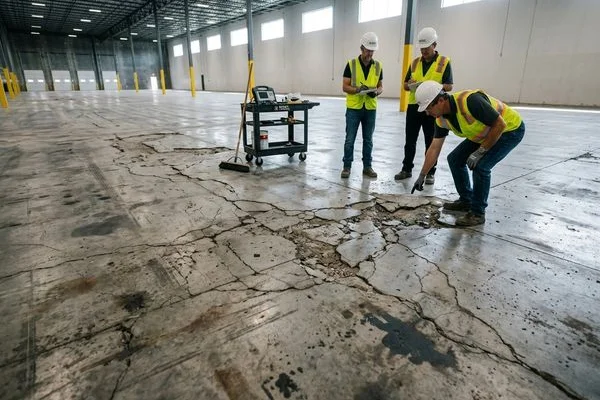
Comprehensive Substrate Investigation
We perform a systematic inspection of the entire floor area: mapping all cracks by type (structural vs. shrinkage, active vs. dormant), measuring crack widths and depths, probing for delaminated concrete (sounding), testing for moisture vapor emission, and pH testing. Contamination zones are identified through visual inspection and core sampling where indicated.
Crack Classification and Repair Method Selection
Not all cracks are repaired the same way. Dormant structural cracks receive rigid epoxy injection to restore tensile strength across the crack face. Active cracks that exhibit movement — from thermal cycling, loading, or settlement — require semi-rigid polyurea that can flex with the slab without re-cracking. Hairline shrinkage cracks below the coating threshold are treated with penetrating primers that bridge without bridging compound.
Control Joint Preparation
Control joints are routed to a clean, uniform width and depth using diamond-blade crack chasers. Old failed mastic, foam backer, or dirt is completely removed. Joints are vacuumed clean and blown out before any filler product is applied. The routing width and depth determines the correct backer rod diameter and filler aspect ratio for long-term performance.
Repair Material Installation
Epoxy injection ports are drilled and set along structural cracks at intervals determined by crack depth. Low-viscosity, moisture-insensitive epoxy is injected under pressure until the full crack depth is saturated. Polyurea joint fillers are poured into prepared control joints over properly sized backer rod, then allowed to cure before grinding flush.
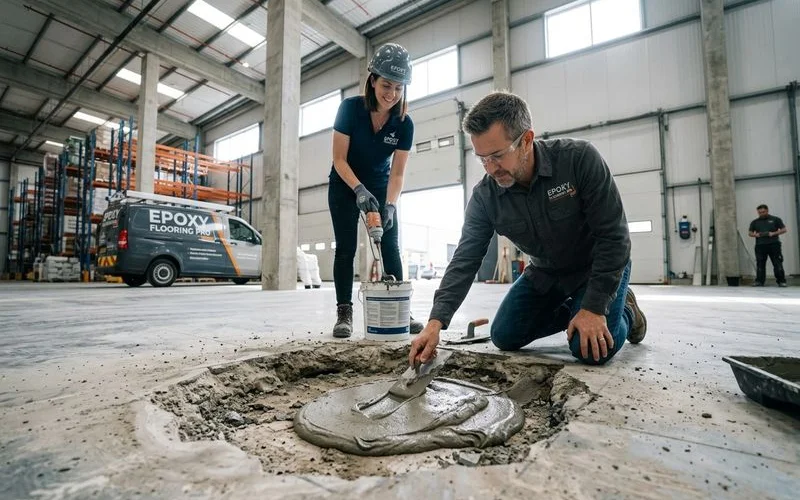
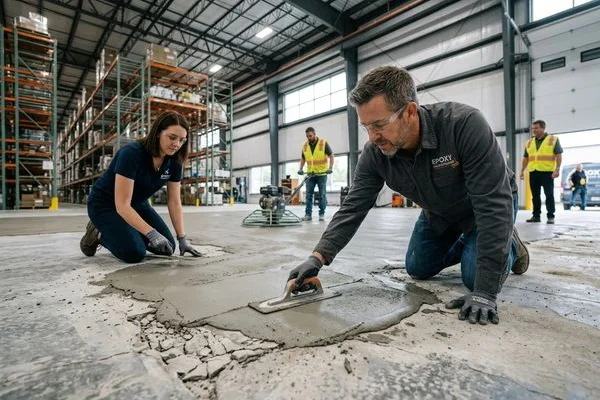
Spall and Surface Defect Repair
Spalls, pop-outs, bug holes, form tie holes, and surface voids are repaired with high-strength cementitious or epoxy mortar matched to the substrate's compressive strength. Repairs are feathered to blend with the surrounding surface profile to prevent coating bridging or print-through.
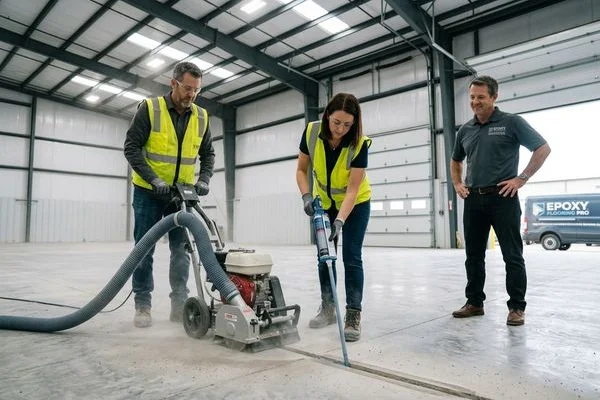
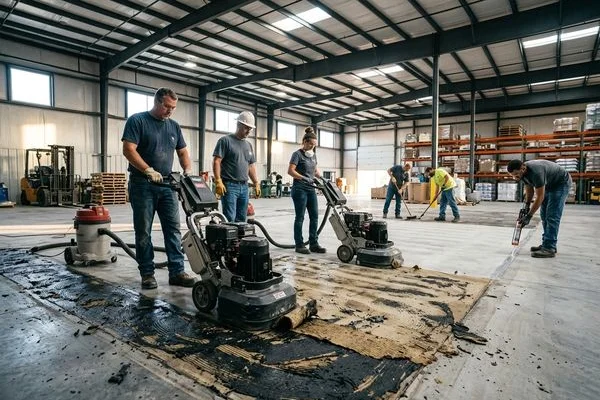
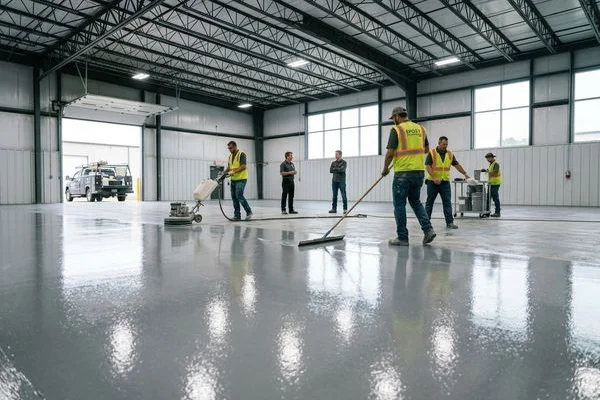
Surface Preparation and Verification
All repairs are ground flush. The entire floor is shot blasted or diamond-ground to the specified ICRI profile. A final walk-through inspection confirms no missed cracks, open joints, or surface defects remain. Written documentation of all repairs with photographic records is provided before coating application begins.
Why Choose Epoxy Flooring Pro
Repair-Specialist Mindset
We treat concrete repair as a specialty discipline, not a background task. Our crews are specifically trained in crack classification, repair material selection, and injection techniques — skills that take years to develop and cannot be rushed.
Correct Crack Classification Every Time
The most common and most costly mistake in concrete repair is using a rigid filler in an active crack. The crack re-opens at the repair boundary and the coating fails at the joint. We classify every crack correctly before selecting any repair method.
Proper Joint Geometry
Control joint filler must be installed with the correct depth-to-width ratio (typically 1:1) over proper backer rod to perform correctly. Overfilling or underfilling joints is extremely common. We train our crews specifically on joint geometry because it directly affects how long the repair lasts.
Full Documentation
Every repair is photographed before and after. We provide a written repair log noting crack locations, classification, repair method, and materials used. This documentation supports warranty claims and helps future contractors understand the floor's repair history.
Integrated with Coating Systems
Because we both repair and coat industrial floors, our repair specifications are always made with the coating system in mind. We specify repair materials with the correct hardness, adhesion profile, and surface texture for the planned coating — not just whatever repair mortar is on the shelf.
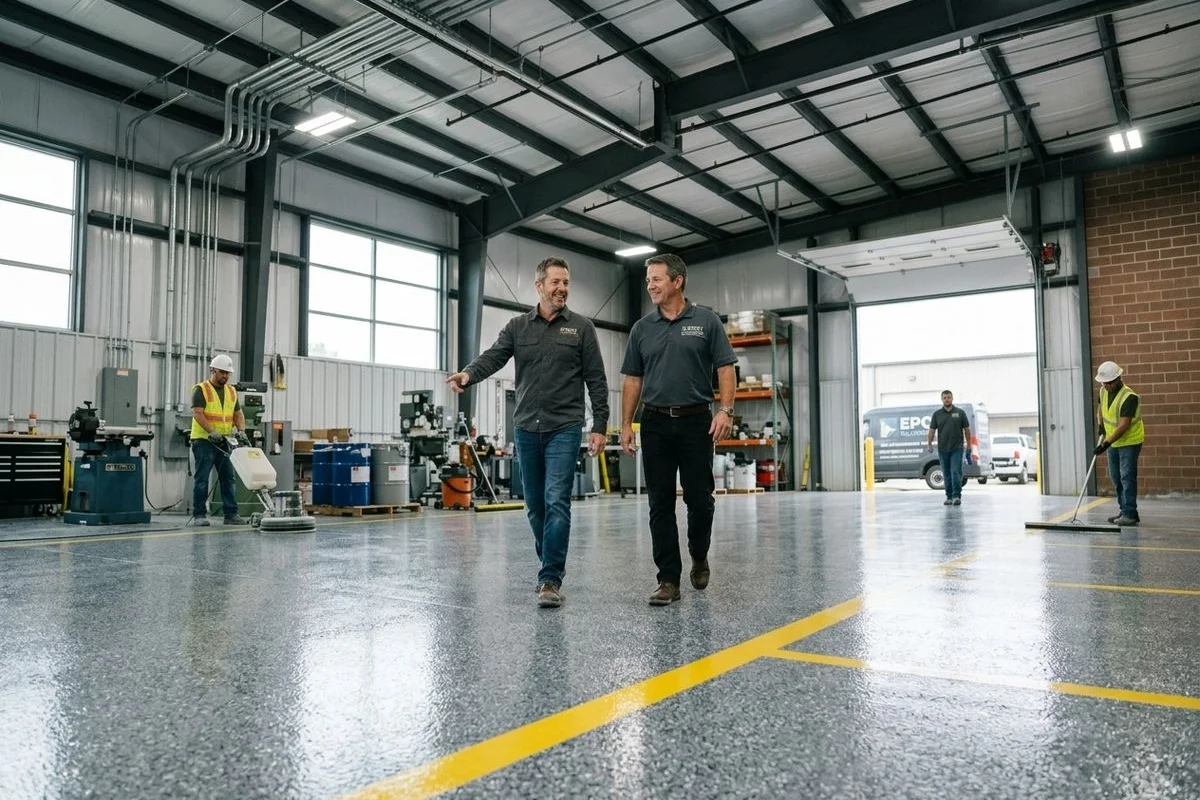
Project Gallery
Before & After
Before
After
What Our Clients Say
"Three previous contractors had coated our floor and it kept failing at the joints within six months. Epoxy Flooring Pro came in, took core samples, properly classified every crack, injected the structural ones, and installed polyurea with correct backer rod in the control joints. That was two years ago — the floor is perfect. The difference was in the preparation work."
"Our warehouse had significant slab settlement in two bays with cracks running wall to wall. Their team documented everything, specified the correct repair approach for each crack type, and completed the entire repair scope before starting the coating. The floor has been in service 14 months with zero coating issues at any repair location. Extremely knowledgeable team."
"I was impressed by how methodical their assessment was before they even gave us a quote. They mapped every crack, noted the type, tested for moisture, and explained exactly what they were going to do and why. That level of engineering rigor is unusual. The finished product matched what they described perfectly."
Frequently Asked Questions
How do you determine whether a crack needs rigid epoxy injection or semi-rigid polyurea?
Can you repair a floor that is still in service, or does the area need to be shut down?
Why do control joints fail and what is the right way to repair them?
Our floor has extensive oil contamination deep in the concrete. Can it be coated?
How much does concrete repair add to the overall floor project cost?
Related Services
Get a Free Estimate for Joint & Crack Repair
Our project managers are ready to assess your facility and recommend the optimal joint & crack repair solution.